- both a PowerPoint and video version of the lesson
- a warm-up activity of the lesson as well as a sheet to print out
- a final picture of the project to print out
- cross curricular connections covering a variety of subjects such as social studies, history, science, etc.
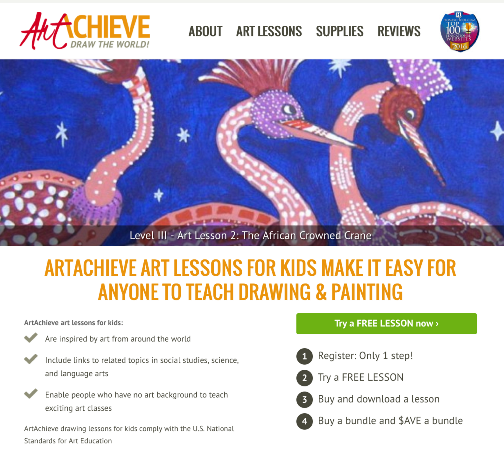
Each of the video lessons are approximately 30 minutes long. The lesson starts out with showing the student what they will be drawing. It then goes on to give some history about the piece as well as information about the location of the country when the object originated from. We really enjoyed this aspect as it brought a whole new appreciation for what we were drawing knowing we weren't just drawing some random object. Each lesson shares different facts so sometimes there are even science facts discussed on some of the animal drawings.
The beginning of each lesson also encourages the student to check out Cross Curricular Connection page. This page lists all the supplies that are needed for that specific lesson as well as links to check out that tie in with that art project to further learn more.
The lesson moves on to having the student relax and encourages listening to relaxing music while drawing. Afterward, he then takes you into the warm up practice where the student takes the print out and practices some of the lines that the finished project will use. The teacher then shows step by step how to draw. Once the object is finished being drawn, the student is then instructed on how to add color to it with different mediums. Most of the art supplies needed are things most of us already have on hand. With the few projects we did, we didn't find we needed anything expensive.
The end of the lesson usually concluded with time to reflect on your drawing as well as some questions to prompt the student into a discussion.
What we found worked for us is I would look over the page that listed the supplies for the lesson to gather what we needed. We then would watch the video version of the first part of the lesson. Once we reached the part where we would start the actual drawing process, I would switch over to the PowerPoint section. Otherwise I had to keep pausing the actual video while we did the drawing. We liked the PowerPoint feature so we could simply advance the slides with each step.
Once our drawing was complete, we would check out the extra links to do some more research on other topics relating to our drawing. We typically broke each lesson into 2-3 different time slots so we weren't rushed though you could easily do this all in one sitting if you wanted to.
Overall, we enjoyed the unique approach to these drawing lessons. We appreciated that the art teacher encouraged each student to put their own spin on their drawings, reminding us that there is no right or wrong way to draw.
Connect with ArtAchieve at:


No comments
I enjoy hearing from each & every one of you! Thanks for taking the time to comment. :)