Buffalo Style "Chicken"

So, what if I told you I had a recipe that would satisfy those cravings for boneless wings AND it's fairly healthy too?

Well, you came to the right place because I have the perfect recipe, tried & tested by myself and my kiddos (and we all LOVE it!!) In fact, if you are looking for a meat free snack, this would fit the bill!

Ok, are you puzzled yet what the secret ingredient is if it isn't chicken???

Why it's cauliflower!!!!

Oh yeah baby, good ole cauliflower can taste like a boneless wing after a few tweaks made to it. I was too excited to make this that I didn't take pictures of the process. But it really was quite easy.


Buffalo Style "Chicken" aka Cauliflower

1 head of cauliflower cut into bite size pieces
1 cup of buttermilk (I have a powder buttermilk I keep on hand & this works fine)
1 cup flour (though I do half flour & half yellow corn meal to make it crispier, or use all corn meal to make it gluten free)
2 tsp garlic salt
1 cup buffalo sauce
1 Tsbp butter

Preheat the oven to 450. In a large bowl, whisk together the buttermilk, flour (cornmeal) & garlic salt until smooth (there may be a few lumps and that's ok). 

Gently place the cauliflower in the bowl and roll around lightly until coated. I then held up the piece & let the excess drip off. Place on a greased baking sheet and bake for about 15-18, until it starts browning. 

Mix together melted butter & buffalo sauce (if you want to cool down the heat a bit, add more butter*). Loosen up the pieces gently off the cooking sheet before pouring the sauce mixture over the pieces. Try to coat as best as possible. (I saved a little sauce to put on after they came out of the oven as well).

Return to oven and bake another 5-8 minutes or so or until it reaches the brown state you prefer.

Serve with some bleu cheese or ranch dressing and celery!

*side note, you could make any wing sauce you like to put on these. I've made some of our own wing sauces in the past and they taste good on this as well.


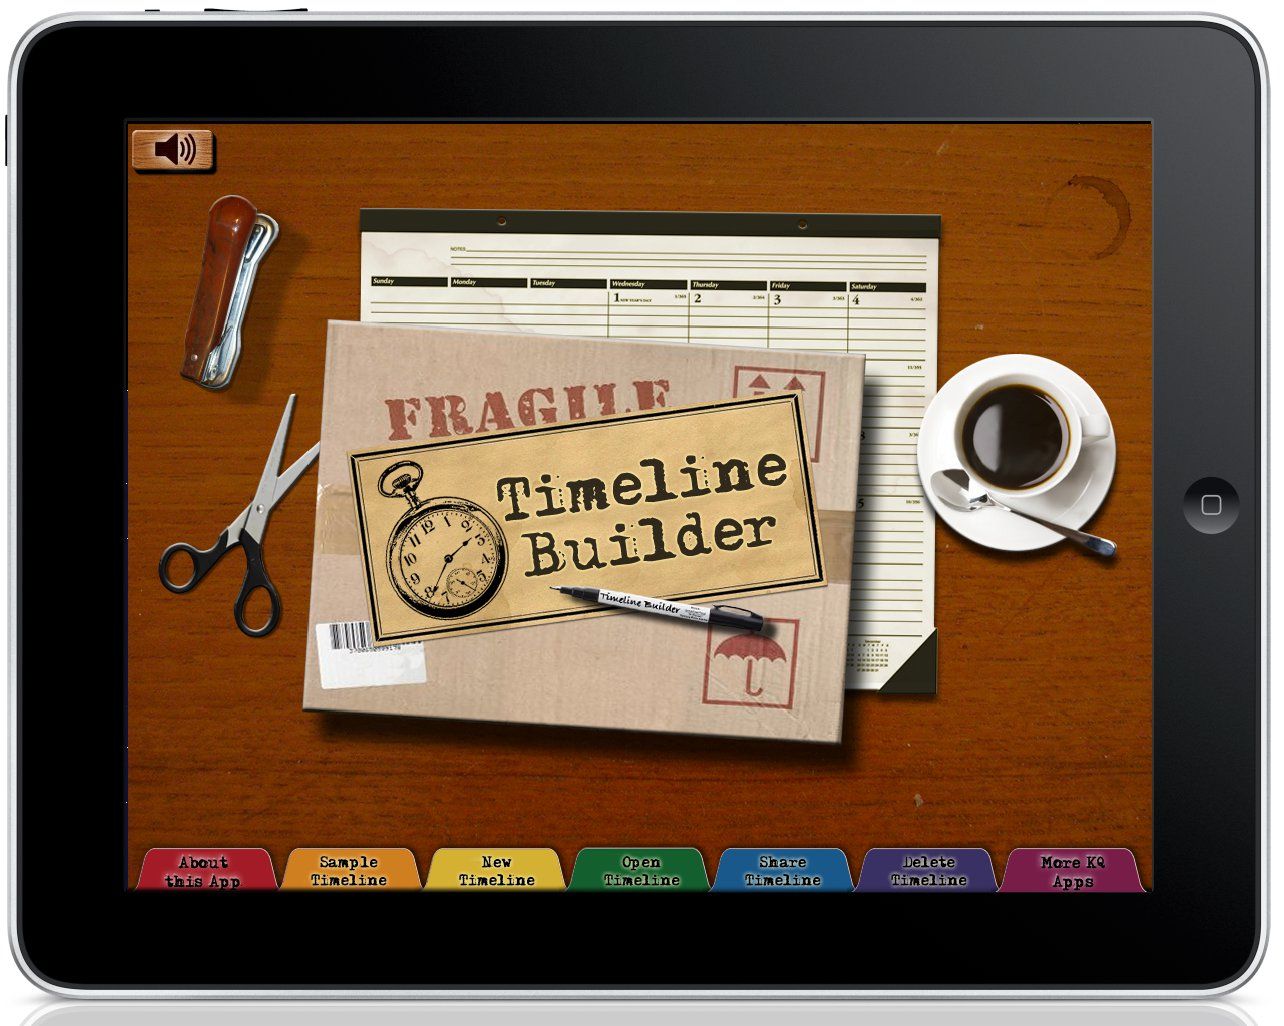
Timeline Builder App for iPad


For the last few years, as part of our history curriculum, my kids have made timelines to go along with what we are studying. While these can be fun, they can also take up a lot of space. So I was excited to recently be given a chance to review Timeline Builder for iPad from Knowledge Quest.


Timeline Builder is an app that allows you to input any dates, pictures and information that you want to create an interactive timeline that you can then share via email or iTunes. You can customize your background, import pictures from your own photo library or import pictures using Wikipedia. Also, this great app doesn't have to be used solely for history curriculum, you can use this app for anything you'd like to create a timeline for like a family tree or keeping dates organized of milestones your children have reached.

My kids of course wanted to play around with the app as soon as we got it. We tried out the sample timeline just to get a feel for the different steps involved. Since it was pretty straight forward, we dived into starting a timeline to go along with their history curriculum.


We found it easy to add an event by giving a title to the specific event then typing in the start & end date and whatever description we wanted. From there, we hit the "search wikipedia" button to find an image. This part took a few steps as once we found an image, there are 2 ways to get it into the app. You can either tap the image until it's the only thing on the screen, then hold your finger down until the word "copy" shows, then you select that and go back to the app where you then can choose to import from pasteboard. If the picture is too big, you are given the option to resize the photo though those size options are preset so if you have a wide photo, it somewhat distorts it by squishing it together.

The other way to get an image is when you are on wikipedia (or whichever site you want an image from as you aren't limited to that choice though the extra facts found there complimented what we were studying), you tap on the image until a menu pops up where you then have the ability to save the image to your photo library. After that, you go back into the app and import the image from the library. It would be nice if the app didn't close down as you worked to place pictures but this just might be an iPad thing.

You can insert as many items on your timeline as you wish. When you want to view one of the subjects & the descriptions you placed on the timeline, you just double tap to fully view everything. You can also move the images with a finger on the timeline up or down and from side to side to place them however you prefer.

My children found this app easy to use on their own once I showed them how though I am pretty sure as tech savvy as they are, they could've easily figured it out. They each were able to create their own timelines so this app works well with multiple children & subjects. The app also saves your work automatically as you go so if your toddler happens to think she is "helping" her big sister by hitting the home button, no worries as your work isn't lost.

I played around with this as well and set up a timeline of a few events about Olivia.

I think this app will come in handy with our next baby as it will be super easy to jot down milestones on here so I don't forget them until I can enter them in a baby book.

All in all, I think this is a handy app to use especially for homeschooling and we plan to continue to use it not only for history but other subjects as well. There is music that plays in the background which we muted (and the app could do without that). I'd love to see some additional choices of backgrounds to select or a way to import your own as well as well as the ability to print out the timeline directly from the app though I got around this by emailing it to myself and printing from there.

You can buy the Timeline Builder app right now for $4.99 (normal price is $6.99). The app states it's for ages 10 & up but really anyone can use it. Younger children just might need a bit of a hand.

Photobucket

Playing Catch-Up

Life has been crazy busy lately. Between starting to wrap up our school year (yes, we'll have all our days logged by the end of this month, yay!) and lots of appointments (can't believe one of my kiddos got braces, *sniff*, growing up too quick), time is just flying by. Oh yeah, and I guess there this thing called having a baby like next month too! And I can't forget my favorite time of the year, gardening season, woohoo!!

I even picked my first spring onion this weekend. Cool thing is, when you plant the bulbs in the fall, you'll have onions coming up before you even till or prep your garden!

Speaking of produce, I've been drinking green smoothies for quite some time now but recently got interested in juicing. Through research and some friends sharing their knowledge on the subject, I've learned quite a few neat things about what sets juicing apart from smoothies. Not that green smoothies aren't good, they are. But some nutrients are more quickly & readily absorbed by the body when juiced & separated from the fiber. Plus juicing is a great way to get a condensed amount of fruits and veggies all at once. 

I shared on facebook how I was looking to find a used juicer and was fortunate enough to have a friend who was looking to sell hers so I got my latest kitchen toy and I love it! I played around with different combinations of fruits & veggies as soon as I got it. One of the kids favorite combos was kale, parsley, cilantro, cucumber, celery, carrot, lemon, apple & grapes. Yes, it sounds weird but the fruit really sweetens it up.


My favorite (so far) was making a homemade version of V-8. After I juiced everything, I added some hot sauce, horseradish, a slice of pickle & celery. Yum!!! I look forward to when my garden is producing so I can use my own fresh veggies with my juicer!

I realize Easter was a few weeks ago already but I thought I'd share a picture of Olivia's first egg hunt we went to. She's at a fun age where she knew what to do with the eggs though she's such a sweetheart that if another child came near her as she was picking up her egg, she'd hand it to them instead.


Ah yes, the bunny costume! Years ago (yikes, has it really been that long?!) when my older 4 were little, I had matching bunny costumes for each of them (I don't even remember how I came across them). So it was tradition to wear them every year for egg hunts. Hey, it made the kids easy to spot in a crowd which is needed when you have 4 little ones running around! I was sad when they finally outgrew those outfits, though I did joke about getting ones in a bigger size so they could keep wearing them! ha


Though I admit, as I dug out the bunny costume this year, it was bittersweet as I should've been digging out 2 costumes, one for Noah as well. Oh how cute he & Olivia would've looked together! And what fun he would've had at the egg hunt no doubt. I can only imagine what his Easter celebration in Heaven was like! Definitely one of the many things I look forward to someday finding out!

So what about you, what in life has kept you busy lately? Are you gearing up to plant a garden by chance? I'd love to hear what you are planting!

Supercharged Science

 photo science_zps3636642f.jpg

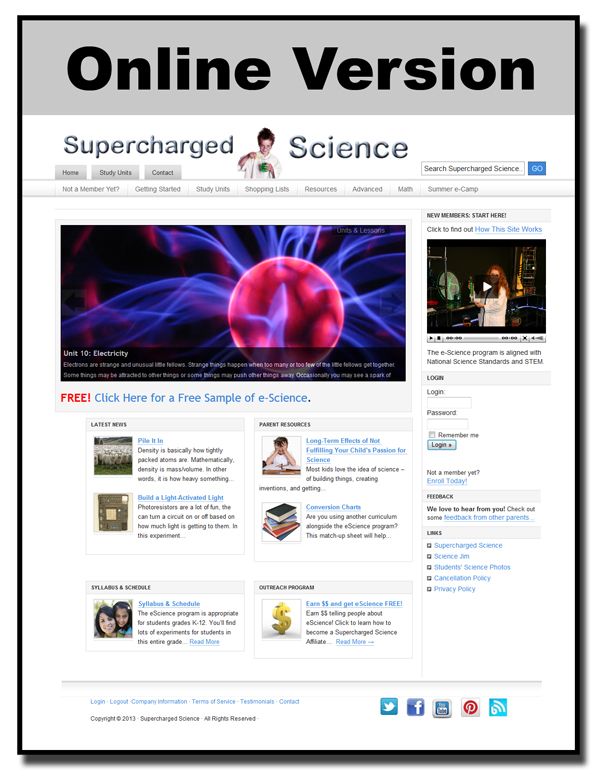
My kids and I love science when it involves hands-on projects! I had never heard of Supercharged Science until recently when we were given a subscription to their e-science program for grades K-8 to review. We were told this online curriculum was chock full of experiments! What also caught my attention was this program was founded by Aurora Lipper who is a former NASA scientist who had a desire to make science fun & exciting for students.
 photo escience-full-600px_zps738b5d59.jpg
E-science contains a total of 19 units (with more coming). When you first sign up, you are given access to the first 7 units, with 1-2 more given each month. Though they do give you the option if you see a unit you'd like to work on that you don't have access to yet, you can email them to unlock it. Trust me though, those 7 units are a lot to keep you busy for quite awhile. In all, there are over 1,000 experiments and projects to do, with a full list of the topics they covered available to view (seriously, they cover a lot of interesting subjects!)

When we first signed on, I admit I was overwhelmed at all our options. We first watched Aurora's intro video as well as her video explaining the scientific method. That's the other thing about this curriculum I appreciated, that there are videos that go along with everything! Aurora was engaging in the videos and easily kept our attention without boring us. 

From there, I asked the kids what topic interested them the most. Their first response was what experiments can we do NOW without having to go out and get anything. (they couldn't wait to do an experiment!)
They choose Unit 2: Motion since we had everything we needed for several of those experiments. You can get as involved (or not) as you want. There is reading, videos and even questions for the students to fill out at the end of a lesson. Everything is self paced so you can spend as much time as you need in each unit.

We started out reading about the highlights of velocity so they'd have an understanding of what we were going to do. We also watched the video of the experiment before we did it. Then we dove in! You'll notice we started this experiment with a small ball like she recommended. After the kids saw how well that worked, they wanted to try a raw egg! I said to go for it but they can clean up the mess if it ended up everywhere!
(click on photos to enlarge them)

But alas, it WORKED and we didn't end up with egg on the wall!

Aurora is great at communication with this program. While we personally didn't have any questions (yet), she stated both on her website & through emails that we are welcome to email her at any time if we needed help or if our children had any questions about anything. 

We also had the opportunity to participate in a webinar on how to make a solar oven. She not only showed us step by step how to make our own, she also explained the "why" behind how it works. 


Out of all the experiments we did, this was their favorite for sure! Next time they plan to try a hot dog. They even took it a step further as they remembered Aurora explaining in the video that the white would reflect the light but if you put something dark on the marshmallow, it would attract it & cause it to cook faster. The kids took a piece of black material & laid it over the marshmallow & actually burned a hole through the fabric! I share all that because without those engaging videos, they never would've branched out & tried something in addition to the basic lesson.

E-science could easily be a stand alone, full science curriculum as it exceeds states standards. Or maybe you are just wanting to supplement with the science curriculum you are already using. They actually provide a conversion chart showing you which science programs you could pair this with and which e-science lessons would go with the different curriculum you may already have.

Overall, we really have enjoyed the quality & content of this program and plan to dig into more experiments even over the summer months. We really liked being able to see the experiments & projects done on video so we would have a better idea of how to do them ourselves as it's easy to mess things up if all you have is only text to go off of.

My only caveat with e-science would be the monthly price. It is a bit steep especially for a one income family. Granted, because this does included a wide range of grades, you are only paying one fee for however many children use it. If this is your only science for numerous children, it may be more justified. 

Aurora is offering a TOS Crew free sample offer if you'd like to check out for yourself just a portion of this program. (it's a $30 value)

Supercharged Science is $37 a month for the K-8 subscription and $57 a month for the K-12 subscription. You can cancel at anytime.
Photobucket
 photo DisclaimerGraphic1_zpsf612f371.gif

Money Saving Monday

Did you know you can earn money while using your smart phone?? Yup, you read that right! If you have an iPhone (which is what I have) and I believe even some droids have these same apps (though I am not experienced with those so you'll have to check it out yourself). Since I have an iPhone, that is what I will be referring to in this post. If you don't have a smart phone, I still have a few websites you can use to earn back money on things you buy as well, so keep reading.

The apps I'm sharing I personally use and have received money back on so no worries that this is anything shady I'm sharing. They are all legit.

With that said, the 1st app I want to share with you is Ibotta

Ibotta
 

The way this app works is you have several pages of offers available & it will tell you how much you can earn on each product. If you want to verify you have the correct product, you can scan the barcode & it will tell you yes or no. Usually you read a fact or watch a short video to earn the full amount. From there, you take a picture of the receipt that shows you purchased it, then you scan the barcode & it uploads everything for you. You'll get a confirmation within 24 hours if you correctly submitted your info then the money is deposited into your account. I make occasional withdraws to my paypal with things I've earned.

Last week, CVS had the Clear shampoo for free plus there was $1.25 available to earn back on Ibotta so I actually earned money just for picking this up. This app has a list of stores you can buy these products, most of them are chain stores like CVS, Walmart, etc. Downside is you can't use it on your small name places like a local grocery store.

**update** I just got a notice if you are new to signing up with Ibotta and use 2 offers in your first 2 weeks, you will get a $2 bonus in addition to whatever you earned!!!

Another one of my favorite apps is Endorse. Unlike Ibotta, you can use Endorse no matter where you make your purchase.

Endorse
 

The first time I used this app, I got $6 back on just 3 products!! Each Thursday, they give you new offers that you can either earn 10-100% cash back. Where it says "upgrade this offer", it just means if you click accept, it'll post about it on facebook (if you don't like that, just only allow yourself to see those posts & hide them from your friends). I plan to use that 50% back on diapers this week! Combined with coupons & sales, they will practically be free! Endorse is definitely one of my favorite deal apps lately. You can make money on it when you combine their offer with deals you find. All you have to do is upload the receipt to show you purchased it. You can then deposit your earnings into paypal.

Shopkick is a relatively new one I've been using. This has a slightly different approach where you earn points for visiting certain stores that are listed or scanning item they ask you to. You then turn those points into gift cards for places like Target, Old Navy, Starbucks, Best Buy etc. Hey, if you're already out and about, simply check your phone & see if there is a place near you to get some easy points. It doesn't take much to earn gift cards.

Shopkick

Don't have a smartphone? That's ok, you can still earn some money if you like to shop online. Ebates is a great way to earn a percentage back on your online shopping. Simply go to their page, look up the place you want to shop at & go through their link (after setting up your account so they can pay you). At Christmas time, I earned several dollars just by doing this, and get this, I got an actual check in the mail from them!! So if you are already going to shop online, check them out. I've seen offers for 3-10% cash back depending where you shop, sometimes more.

Another way to earn points to go towards gift cards is Swagbucks. There are many ways to earn swagbucks, watching videos, filling out surveys, using their search engine, etc. Just rack up the swagbucks until you get enough to get whatever gift card you'd like.

Obviously there are many ways available to use your smartphone or the internet to earn money or gift cards. These are just a few that I personally use & recommend. Are there any that you use that I didn't talk about? Drop me a comment & let me know! 

 I would love if you decide to sign up for any of these programs if you'd use my links please. Any little bit I earn off these apps, I put towards our homeschooling projects & field trips. Thanks!

Computer Science for Kids


We were recently given the chance to review Beginning Microsoft Small Basic from Computer science for Kids. I know, you are thinking WHAT, computer programming??? Don't despair, this curriculum isn't as complicated as the name lets on. In fact, you don't even need to have any previous computer programming experience. You just need to be familiar with operating Windows which is pretty much second nature for most people.

Microsoft Small Basic Programming

Beginning Microsoft Small Basic is a programming tutorial that has 11 lessons, each lesson taking about 3-6 hours each, though this varies greatly on who is using it. It's recommended age is for those 10 & older. This curriculum also comes with over 500 pages of notes and programming examples for the student to follow and use. The chapters cover things like computer history, elements of the Small Basic language, program design, debugging, Small Basic graphics just to name a few (check out the full table of contents for even more info). There are also several computer programs that use fun games to show the student in real time what they've learned. 

State Capitals Game

My husband is the IT Admin where he works and was intrigued by this course so he was the "main" student for this review while working alongside our son. This program came as a zip file containing both the forms of PDF & Word document with all the chapters for the curriculum. One of the biggest things he was impressed with was the ease of use. He said everything was clearly laid out and not once did he ever become confused on what he was to do. There were screen shots also included. Hubby said it was just a matter of reading the directions (which he opened in a separate window from where he was working), typing in the coding from the lesson then hitting run. If anything was entered incorrectly, it would tell you which line had an error making it easy to find & correct.

He felt this was a good curriculum as an introduction for those wanting to learn about Small Basic though we both felt the younger age kids (10-12) would have difficulty doing this on their own and would benefit from having a parent work alongside of them.

This program is currently on sale until 7/4, as an instant download, for $34.95. Normal price is $59.95. They also offer a Computer Bible Games for Microsoft Small Basic that some of the crew reviewed & enjoyed as well.

Photobucket

The Ultimate Blog Party #UBP13

Photobucket

If you are stopping by Treasuring Life's Blessings for the first time, welcome!!! This is my 2nd year of participating in the Ultimate Blog Party and it's always fun to discover new blogs to read and make some new friends as well.

My name is Jenn and next month will mark 3 years since I started my blog sharing about my journey with our son Noah. He is one of my soon-to-be 7 children (#7 due next month).


 I am blessed to be able to homeschool my kids so you will find me sharing antics about our daily life as well as curriculum reviews. I also host giveaways from time to time as well!

I have a passion for cooking & love being able to talk about new recipes I try with others. Of course, having a large family also means I get creative in finding ways to save money and I share those tips occasionally on Money Saving Mondays. And that's just the tip of the iceberg, you'll find me sharing about many other things here as well!

Overall, I try to live out my blog name & am learning to truly Treasure Life's Blessings, both big & small, good & not so good. After all, each moment of our life has a purpose and I enjoy sharing a glimpse of that with you! So get comfy, make a cup of tea and feel free to browse around my little neck of cyberspace.  Leave me a comment & let me know where you are visiting from so I can say hi as well! Thanks for stopping by!

You can also connect with me at:

"Whatever you do, work at it with all your heart, as working for the Lord, not for human masters, since you know that you will receive an inheritance from the Lord as a reward. It is the Lord Christ you are serving. "
Colossian 3:23-24

Sufficient Grace Ministries Auction!!!!

If you've been a somewhat regular read here at TLB, you have seen me talk about Sufficient Grace Ministries. This is a wonderful organization that provides support for families who have lost a baby. I wish I had known about them before or right around the time Noah died. It was several months until I came across them but what a blessing they've been to me since then.

Most recently, I participated in their Walking With You series. It's always so welcoming to be able to openly share my grief journey with many others who understand.

All that to say they are only able to provide the support they do with donations & fundraisers. Right now, they have an AWESOME auction going on on Facebook with well over 300 items up for bids. Many items are things for anyone, not just baby loss families. It ends tomorrow (Friday) at 11:45pm EST. So please go check them out, treat yourself to a gift and help support a wonderful organization!

Here's just a few pics of things up for auction:


(Joyce Meyer gift basket)

And SO MUCH MORE! Go win something in memory of Noah!!! <3